Ecommerce
Adding products and categories
You can edit and add new products to your shop in an efficient and simple way using the drag and drop designer.
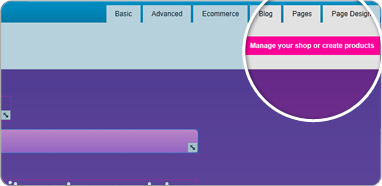
1On the drag and drop designer go to the tabs in the top right had corner and click on “ecommerce”, then click on the pink button below ”Manage your shop or create products” then a new box will come up.
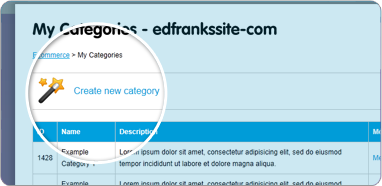
2Next you need to set up the categories for your shop, so click on the categories link at the top of the list, then a new page will appear. On this page click the “create a new category” link.

3On the next page fill in the details for your category and then click the pink add category button below. Repeat this process and add the all the categories for you shop.
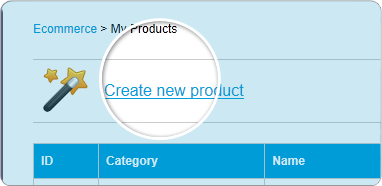
4Next using the breadcrumbs at the top of the page go back to the original ecommerce page and now click on the products link, then a new page will appear. On this page click the “create new product” link.
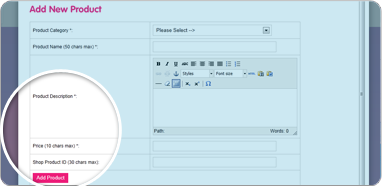
5A new page will appear, firstly select the products category from the drop down menu at the top and then fill in the information about the product below. Once all the information is filled click the add product button.
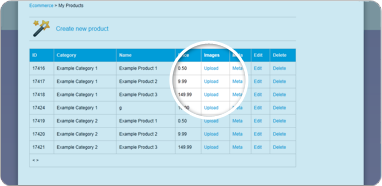
6Your product will now be in the product list and next to it will be a number of links to allow you to edit/delete a product etc. One of these says upload and if you click here it will open up a new window to add a picture of your product.
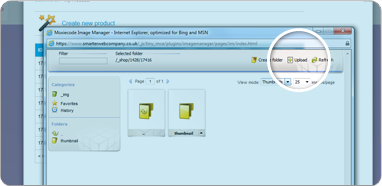
7At the top of this box there is an upload link, click this link and another box will appear.

8From this box click the choose files button and this will take you into windows explorer style window. From here select the images you want to upload and then click open.
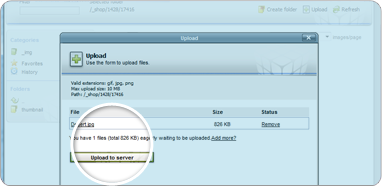
9You will then return to the previous box, from here just click on upload to server, your image will then be uploaded into the image manager ready to use for your product.
10Repeat steps 4-9 until you have added all of your products to your site.